Fencing · Beginner
How to Estimate Wood Fencing Materials: Posts, Rails, and Pickets
A complete grid breakdown for a standard 6-foot privacy fence: post spacing, rail runs, picket counts and concrete.
- • Post hole digger or auger
- • String line
- • Level
- • Circular saw
- • Impact driver
- • Wheelbarrow
- • 4x4 pressure-treated posts
- • 2x4 rails
- • Fence pickets
- • Fast-setting concrete
- • Gravel
- • Exterior screws or ring-shank nails
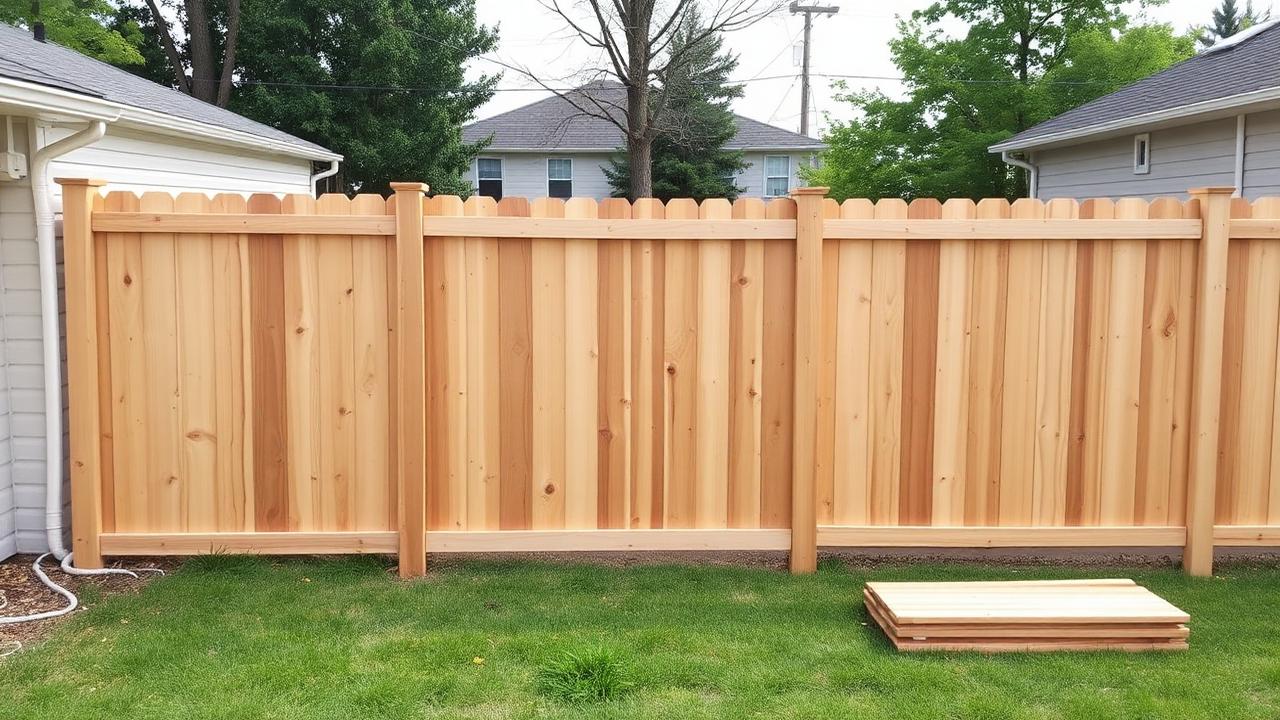
The standard 6-foot privacy fence
The default American backyard fence is 6 feet tall, built with 4x4 posts on 8-foot centers, three horizontal 2x4 rails, and 1x6 dog-ear pickets butted edge to edge. Everything in this guide assumes that build; the math adapts easily to other spacings.
| Component | Per 8 ft section | Per 100 linear ft |
|---|---|---|
| 4x4 x 8 ft posts | 1 (+1 to close) | 14 |
| 2x4 x 8 ft rails | 3 | 39 |
| 1x6 pickets | 17 | 213 |
| 50 lb fast-set concrete | 2 bags per post | 28 bags |
| Exterior screws | ~60 | 750 |
Post spacing is a trade-off
Six-foot spacing costs more in posts and concrete but produces a stiffer fence that resists wind and sag — worth it in the Plains and anywhere with steady wind. Eight-foot spacing is the economy standard and is fine for most suburban lots. Never exceed 8 feet with 2x4 rails; they will sag within two seasons.
Post depth and concrete
Bury one-third of the post length, or below frost depth, whichever is deeper. A 6-foot fence uses 8-foot posts set 2 feet deep in most of the country and 3–3.5 feet deep in northern frost zones — which means 10-foot posts up north.
A 10-inch hole 2 feet deep holds 1.1 cubic feet of concrete. Two 50 lb bags of fast-setting mix cover it with a little left for the crown. Slope the top of the concrete away from the post so water sheds.
Step-by-step
- 1
Measure the fence run and mark corners
Walk the property line with a tape and note total linear feet, corners, and gate locations. Confirm your property boundary from the survey — fence disputes are the most common neighbor lawsuit in the USA. Then run a string line to establish the true fence face.
- 2
Calculate the post count
Posts = (total linear feet ÷ spacing) + 1 per continuous run. A 100 ft straight run at 8 ft spacing = 13.5, round to 14 posts. Add one extra post for every corner and two extra for every gate (gates need heavier 4x6 or doubled posts on the hinge side).
- 3
Calculate the rails
Rails = sections x number of rails per section. 13 sections x 3 rails = 39 rails at 8 ft each. Use three rails on a 6 ft fence; two rails is only acceptable up to 4 ft. Where sections meet, rails should butt at post centers so both ends bear.
- 4
Calculate the pickets
Pickets per foot = 12 ÷ picket face width. A 1x6 picket is actually 5.5 inches wide, so 12 ÷ 5.5 = 2.18 pickets per linear foot. For 100 ft: 218 pickets butted tight. If you are spacing pickets 1/2 inch apart for airflow, use 12 ÷ 6.0 = 2.0 per foot = 200 pickets.
- 5
Add the waste allowance
Add 5% on pickets for warped and cracked boards you will reject at the pile, and 10% if the ground is uneven and you plan to rack the fence to follow grade. For 218 pickets that means ordering 230.
- 6
Calculate concrete and gravel
Two 50 lb bags of fast-setting concrete per post is the reliable number for a 10-inch hole at 2 ft. 14 posts = 28 bags. Add 4 inches of gravel in the bottom of every hole for drainage — about 1 cubic foot total per 8 posts.
- 7
Count the fasteners
Two screws per picket per rail = 6 per picket. 230 pickets = 1,380 screws, or about 5 lbs of 1-5/8 in exterior screws. Rails take 2–3 structural screws per end. Use hot-dip galvanized or coated fasteners — plain steel reacts with the copper in pressure-treated lumber and fails within a few years.
- 8
Check gates and grade before you build
Gate openings need their own hardware and a diagonal brace or anti-sag kit. On sloped ground decide between stepping (each section level, stair-stepping down) and racking (frame follows grade). Racking uses the same picket count; stepping adds 1–2 pickets per step for the gap fill.
Was this guide helpful?
People also searched
Safety note: this guide is educational. Always follow local building codes, pull required permits, and hire a licensed pro for structural, electrical, gas or plumbing work when in doubt.
More guides
How to Install a Pre-Hung Interior Door
Shimming, plumbing and hanging a pre-hung door so it latches cleanly and stays where you leave it.
Read FramingHow to Frame a Basement Wall
Moisture control, wall placement, bottom plates on concrete and the framing sequence for a basement finish that lasts.
Read PlumbingHow to Replace a Kitchen Faucet
A 60–90 minute swap done properly: shutoffs, the basin wrench problem, supply lines and leak testing.
Read